
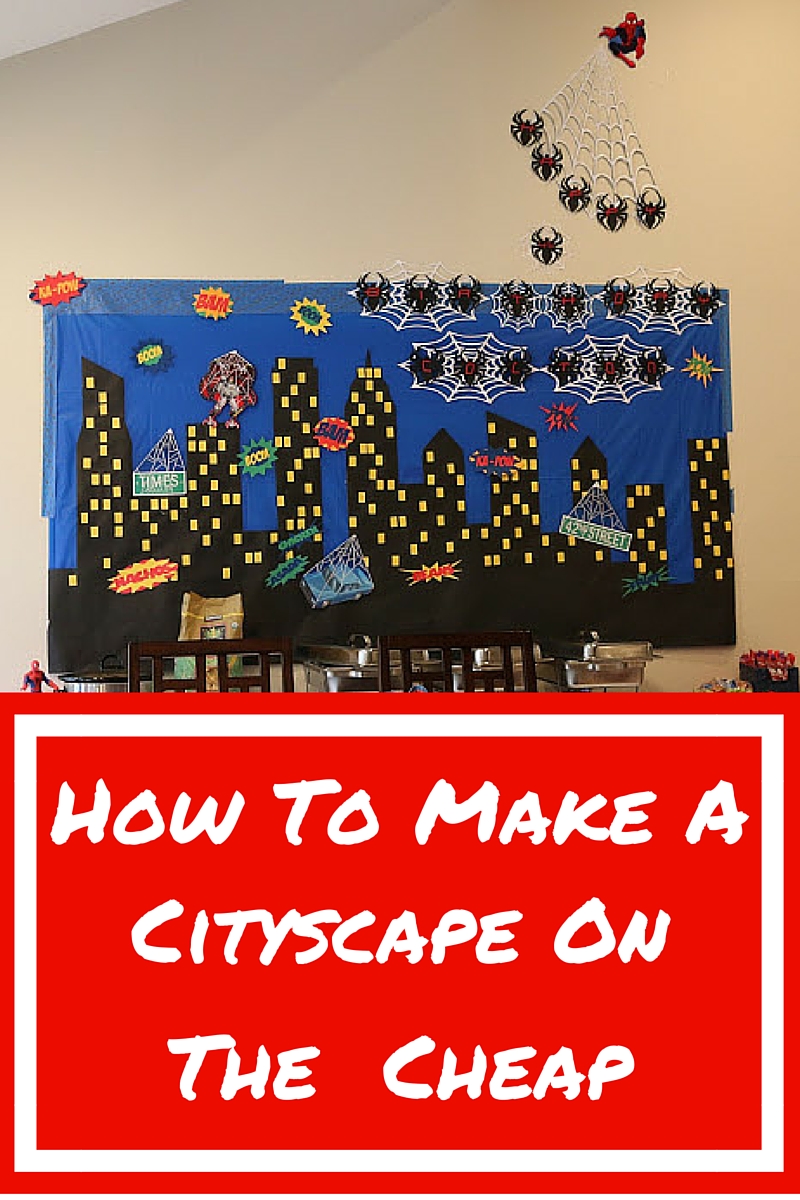
I did our Spiderman party recap last month, but never told you how I made the citiscape. Only a month later but better later then never right?
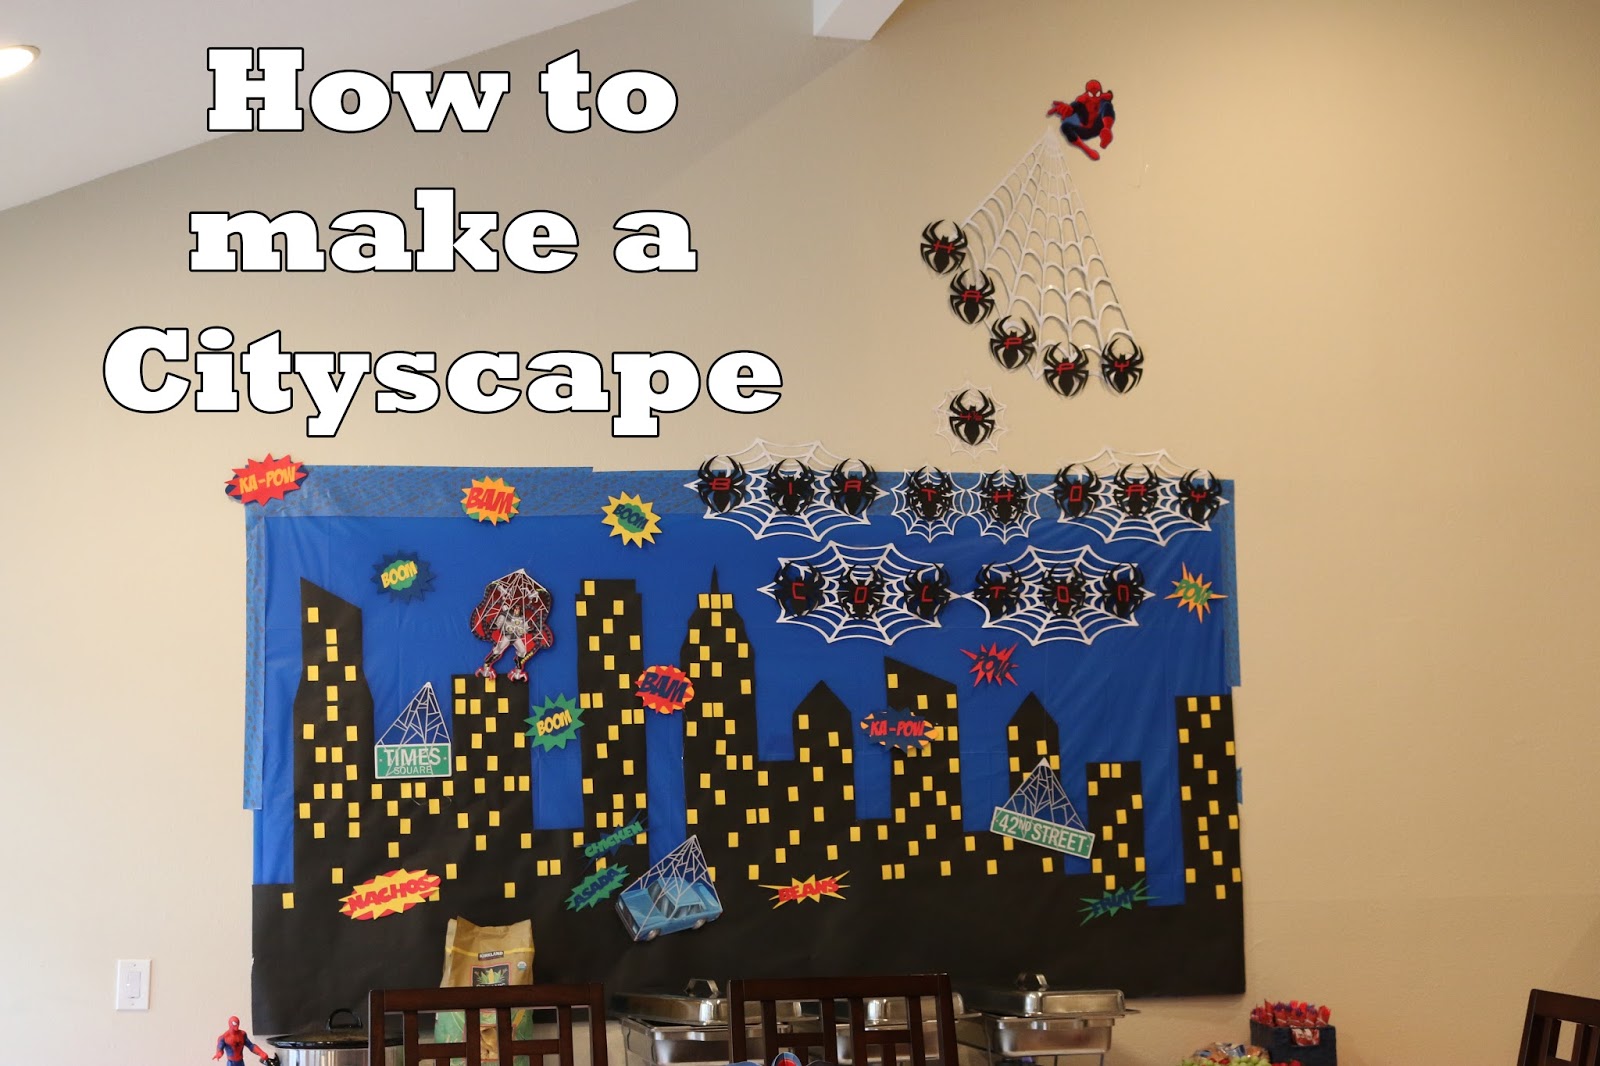
I knew I could make one for way cheaper than the one I found on Oriental Trading Company. I came up with the idea and I think it came out even better than I even imagined!
What You'll Need:
Plastic Table Cloth from Party City (I started with the 99 cent store one and they are too thin)
Butcher Paper
Yellow Scrapbook Paper
Pencil
Ruler
Scissors
Painters Tape
Spray Adhesive
Rectangle cutting device (I used a Cricut)
Glue Stick
Various Accessories to decorate it with
Directions:
Step 1:
I laid out the butcher paper to the length of the tablecloth, plus added a few more inches to the end just in case. Then I drew the cityscape onto the butcher paper with a pencil using a ruler. I used this cityscape as my sort of template for my cityscape. But really it could look like anything.

Step 2:
Cut out the cityscape, try not to lean too much on the paper. The butcher paper is fairly thin.

In the end it should end up looking like this:

Step 3:
Lay out the tableloth. I ended up putting on the tile and taping it down so it would stay in place. I use the same technique when I quilt.


Step 4:
Lay the cityscape background onto the tablecloth. At first I started off just double side taping it down, but remembered that I had some spray adhesive and thought I would give that a whirl. It worked like a charm, so I would definitely use that. So much faster, spray a bit and you're done, it took me less than 5 minutes.

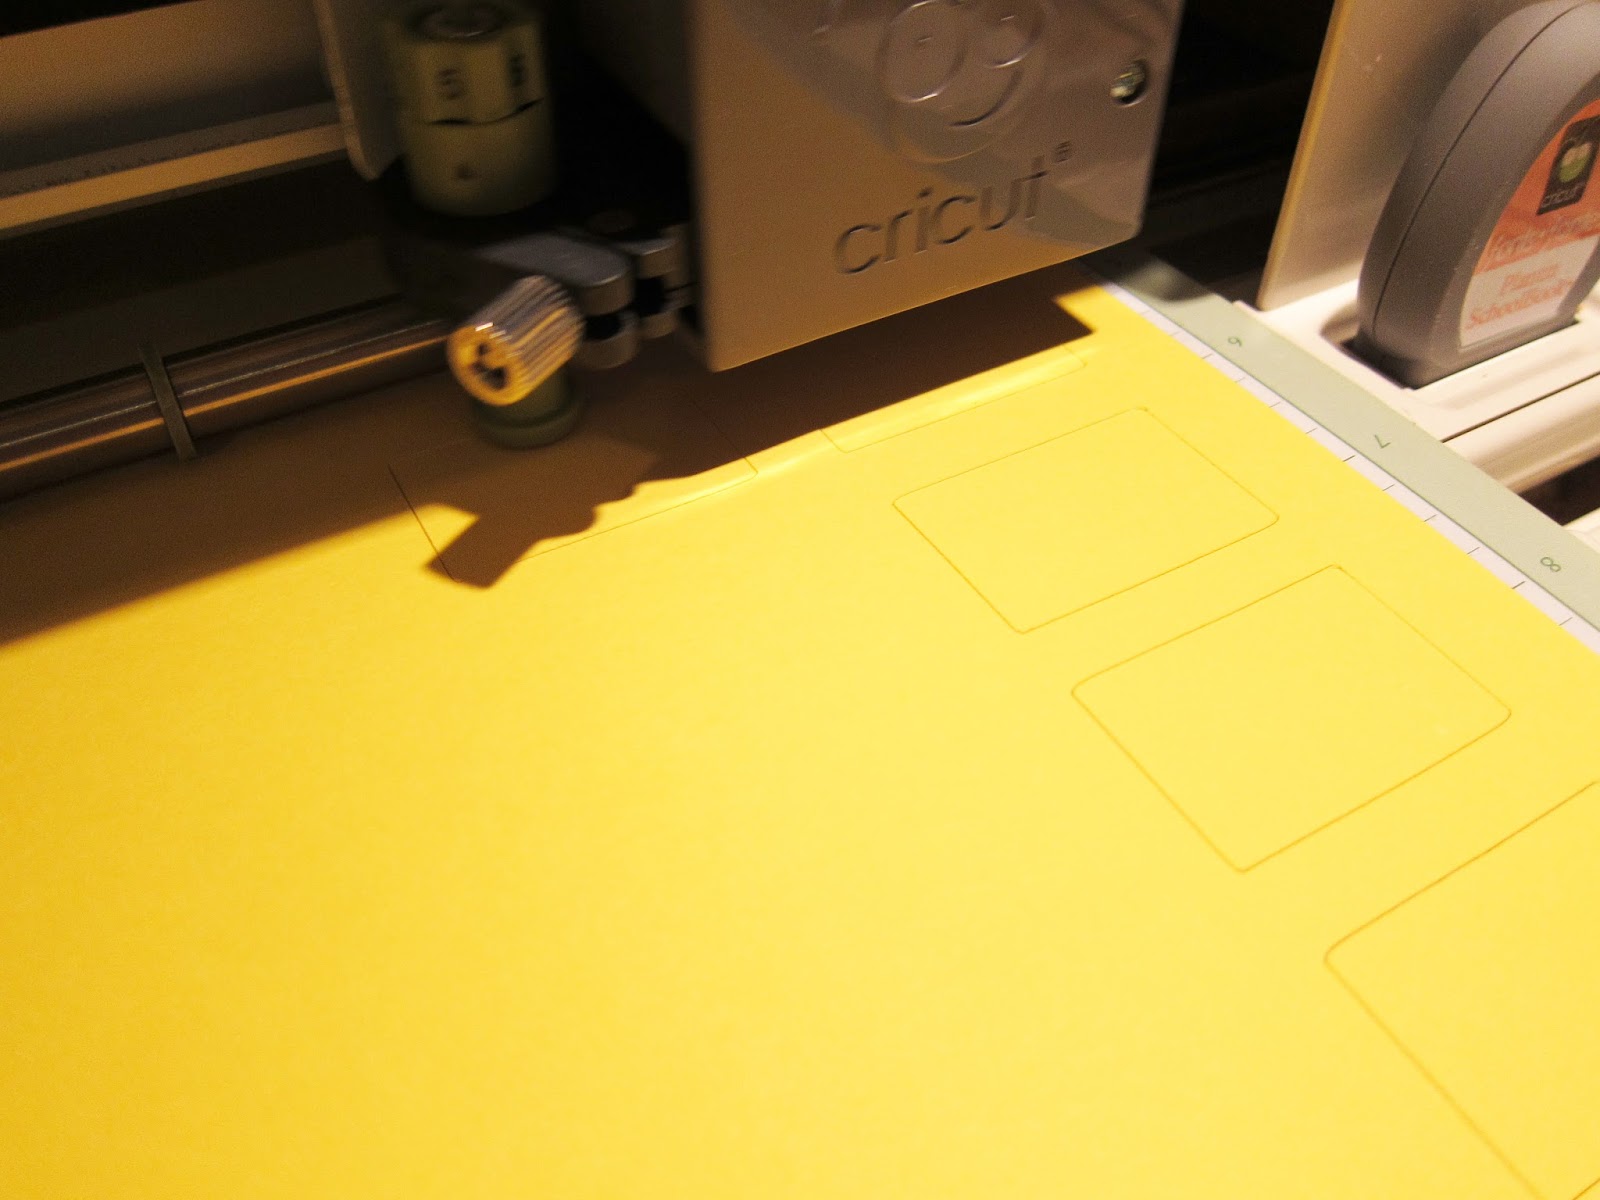
Step 5:
I made a bunch of rectangle squares on my Cricut, that thing is awesome. I highly recommend getting one if you don't have one. I've also heard that the Silhouette is good too.

Step 6:
Lay the rectangles randomly on the buildings. I used a glue stick and was super random about it, I didn't follow a pattern, so I tried not to look at where the other rectangles were, just the one I was placing. Knowing me I probably would have tried to follow a pattern. I thought the random ones would look better.

I ended up using a folded towel halfway through, man my knees were killing without it!


Step 7:
Hang on wall and decorate.
I almost always use painters tape when trying to hang stuff. I usually use the Green Frog one...but since green was not going to match my cityscape I had to use the blue. Which isn't as strong, so I ended up having to do several layers/rows of it to get it to stick. Then I used this pack of decorations to decorate along with making some "Pow", "Ka Pow", "Boom" signs and hung those up. Those were also done using my Cricut, but could easily been done by hand.

Bonus Step:
I of course made the spiderwebs and the spiders using the Circut. For the wider spider webs and the spiderweb that Spidy is throwing out, I did it in phases and ended up taping it all together. It was long and tedious but worth it in the end I think. The spiderman came from the pack above, it just worked out that it looks like he's shooting a web. That was not planned, just sheer luck. I was just going to do a silhouette of Spiderman had that not worked out.

and that's how I made the cityscape. I do have to admit it's so hard to take it down and now a month later it's still hanging in my living room. I don't think it's going to come down easy. Usually I'm able to sell all of my party stuff that I made, but this is one thing that I don't think will work after it comes down. So it stays up, probably until Mini Fox's birthday in September. haha.
If you have any questions just shoot me an email, I love talking party!
Linking up with Tuesday Talk and Wake Up Wednesday, The Lady Collective and Mommy Moments and Hit Me With Your Best Shot
This post contains affiliate links, which means that if you click on a link and purchase an item - I may receive a small commission. THANK YOU!
No comments:
Post a Comment