
So I finally got my act together and put together a tutorial on the tissue paper wreath I did. I found this tutorial online, but it wasn't that detailed, so here's how I made mine based off of the few pictures she posted.
Supplies:
- Styrofoam wreath (Mine was square, but you could probably use the round one. There were two Styrofoam wreaths at the store, one was a little more dense than the other, I got the less dense one, seemed easier to poke holes in.)
- A stick to poke small holes, I used a bamboo skewer that I use when making kabobs.
- Tissue paper (mine was 20"x 30"), I used about 35 sheets of paper (I bought off of eBay, way cheaper!)
- Glue gun
- Scissors
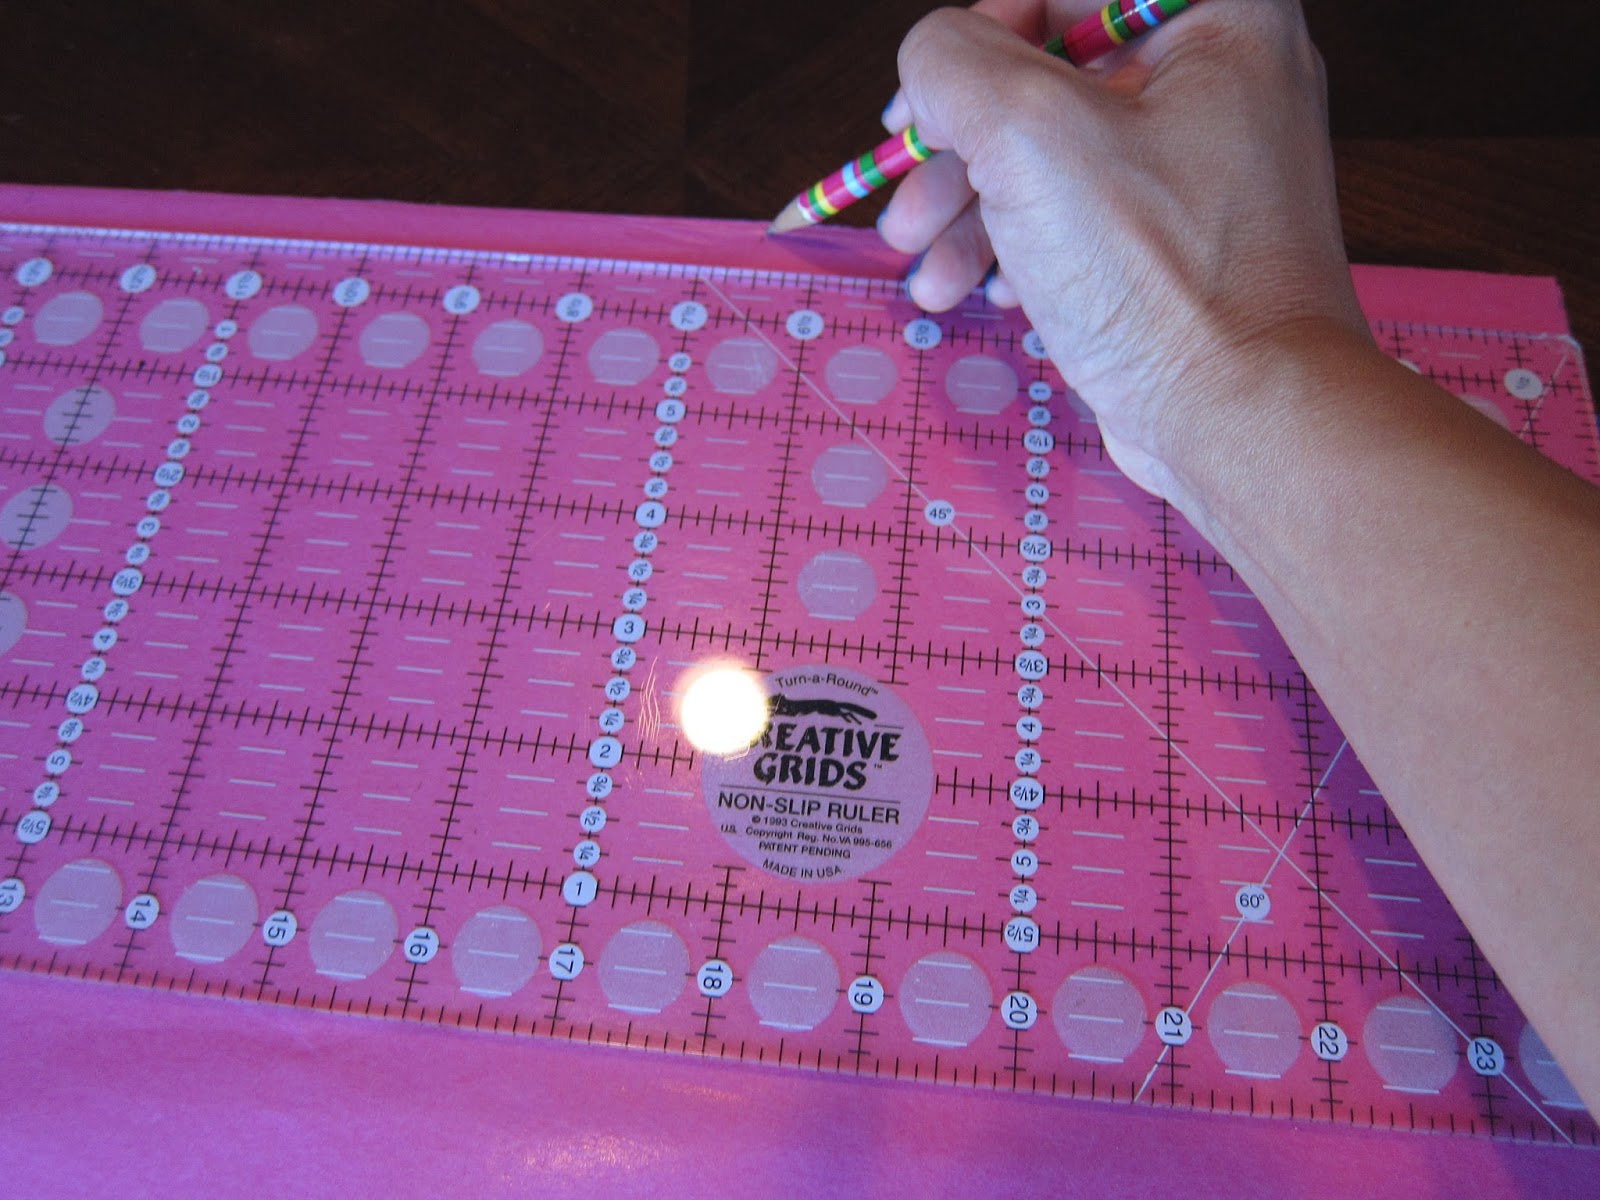
- Ruler

Step 1:
Measure paper, I used 5"x7" rectangles, it seemed to work for me.
Step 2:
Cut paper, I quilt, so I have a quilting set up, but scissors work just as good.


Step 3:
Stack and fold the tissue papers. Every 5-6 single sheets I folded, I would fold a two sheets together. You don't have to do this, but I would guess if you don't want to make it as full, you could do the double sheets and space out the holes a bit more.

Hard to type this out, but...first you folded it in half once, then folded it in half again, and then twisted the bottom corner into a tight point.

For those of you visual learners here's a quick video
The folds and twists do not have to be uniform or neat, but the tighter you get your point the easier it will be to put into the styrofoam when time comes.
Step 4:
Once you have a huge pile of tissue papers (FYI: this was about half of how many I ended up using)

You can start putting them into the wreath. I found that 5 holes across made for a really full wreath.

Step 5:
Glue the tissue in place, I found that putting a small amount of hot glue at the surface of the whole worked best. If you shove the glue gone in the hole, it will melt the Styrofoam, so try not to touch it, and just put it in on the surface, then when you stick the tissue paper in hold it there for a few seconds.

Glue the tissue in place, I found that putting a small amount of hot glue at the surface of the whole worked best. If you shove the glue gone in the hole, it will melt the Styrofoam, so try not to touch it, and just put it in on the surface, then when you stick the tissue paper in hold it there for a few seconds.

Repeat this a million times, okay that's an exaggeration, but a lot of times. I just did the top and the outside, for the outside I found that 3 holes works best. I also alternated, so I would work on one side then move a little bit down and work on the side. If you try to do the sides in a row, the glue isn't dry enough and they tend to fall out. Hope that makes sense, it's hard to explain. I then added a Minnie Mouse head and called it a day.

I made a quick 3 minute video of the whole process for your viewing pleasure as well. I know I am a video learner, so I did both video and pictures.

I made a quick 3 minute video of the whole process for your viewing pleasure as well. I know I am a video learner, so I did both video and pictures.
Don't worry it just seems a lot more daunting than it really is, put on a good movie and go for it! If you make one send me the pictures! I'd love to see them.
Also linking up with Amanda, for Thinking Out Loud, Vanessa and Penny for Thinking out Loud, Lulia, Stephanie and Sarah for The Ladies Collective, Annie and Natalie for Thoughts for Thursday and Joey and Kristin for Stuff and Things, Angel for Wake Up Wednesday, Cara and Rhonda for Craft Frenzy Friday, and Kelly for Inspiration, Christina for Wildly Original, Tammy and Brittany for One More Time Saturday, Lambert for Create it Thursday and Lindsay for Artsy Fartsy, That DIY Party, Tweek it Tuesday, Mad Skills Party, Fabulous Party, Weekend Retreat , Tuesday Talk and Wake Up Wednesday Linky Party and Let's Be Friends Blog Hop and Jennie for Friday Favorites
No comments:
Post a Comment